|
Configure NFS Client(Win Server)
2016/04/23 |
|
Configure NFS Client on Windows Server OS.
This example is on Windows Server 2012 R2.
|
|
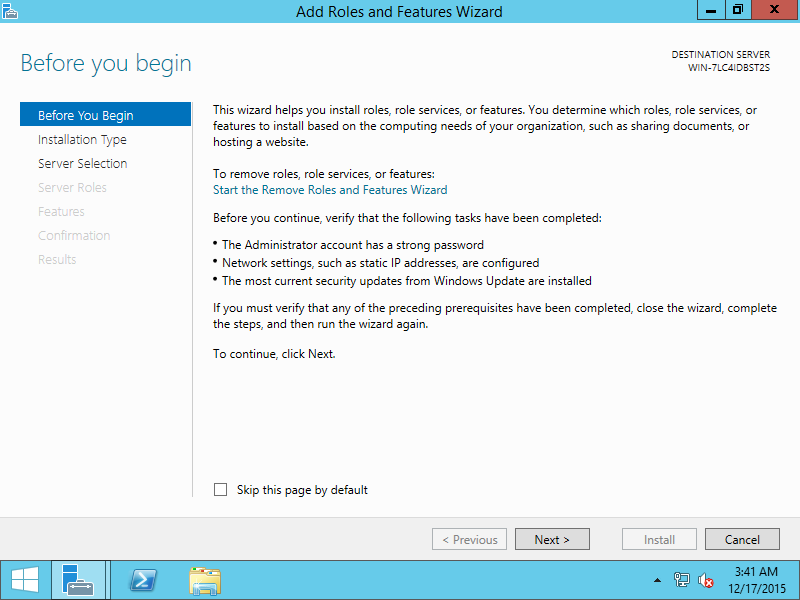
| [1] | Open [Server Manager] and click [Add Roles and Fetures]. |

|
| [2] | Click [Next] to proceed. |
|
| [3] | Check a box [Roles-based or Feture-based installation] and Click [Next] to proceed. |

|
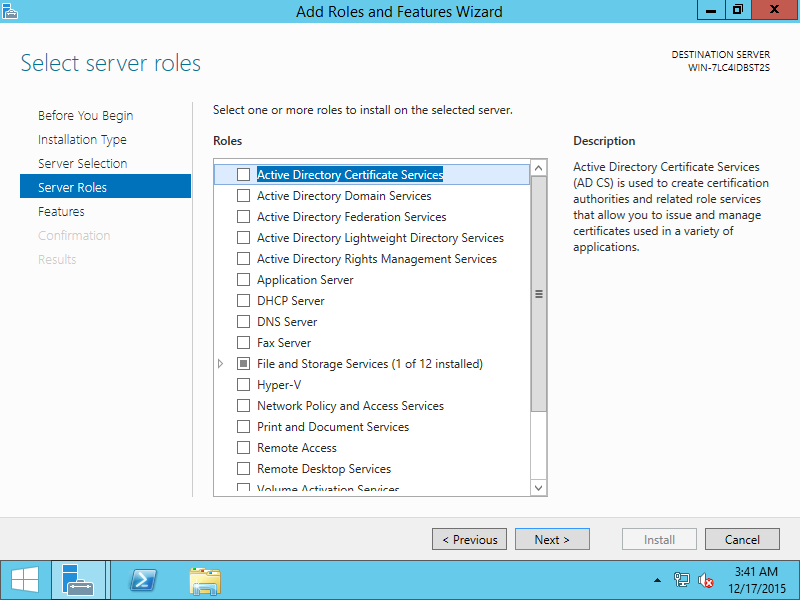
| [4] | Select a Server you'd like to add roles or fetures. |

|
| [5] | Click [Next] without checking any boxes. |
|
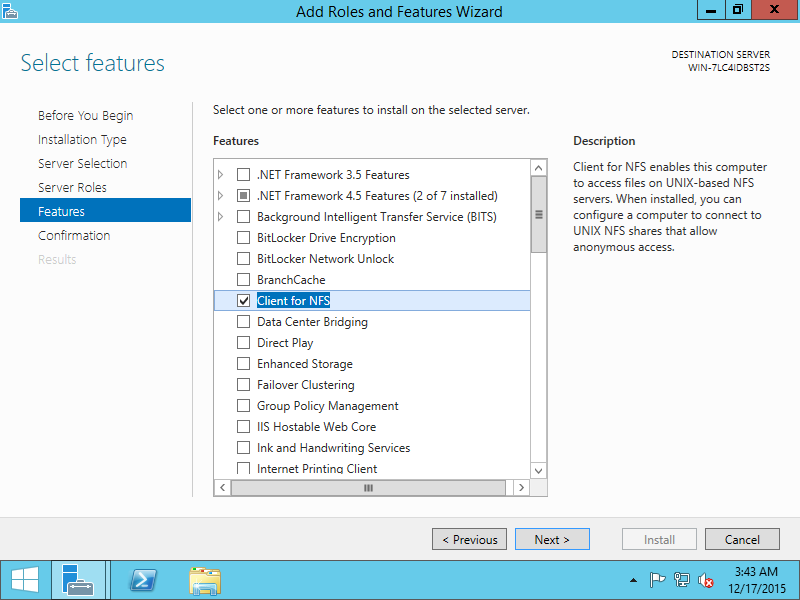
| [6] | Check a box [Client for NFS] to proceed. |
|
| [7] | Click [Install] button to start installation. |

|
| [8] | After finishing installation, click [Close] button. |

|
| [9] | It's ready to mount NFS shared. Run cmd.exe with administrator priviledge and input commands like follows. ⇒ mount [NFS server's hostname or IP address]:/[shared name] [local drive]:\ If connected normally, successfull message is shown like follows. |

|
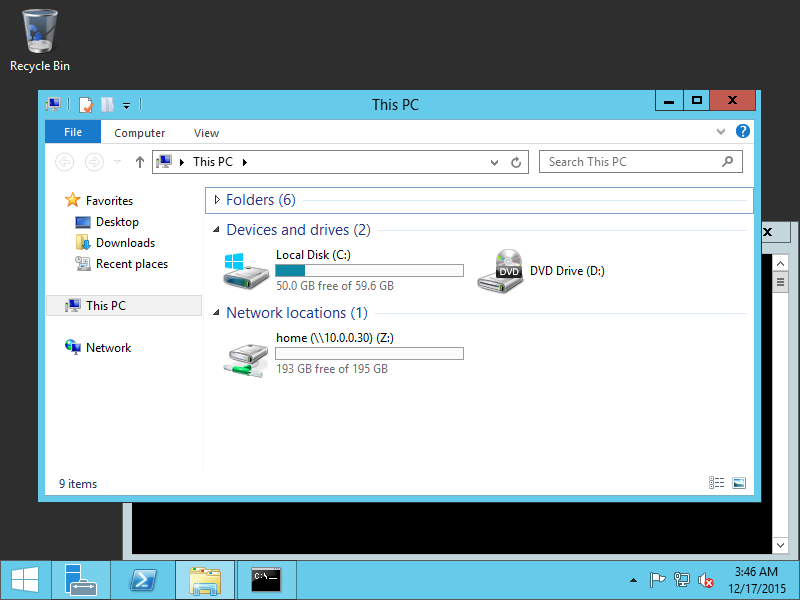
| [10] | Open explorer, then mounted NFS shared is displayed like follows. |
|